My Secret to Winter White Teeth
If you follow me on instagram, then you know I’m kind of obsessed with all things beauty, hygiene, and skincare. So, today I’m sharing my secret to winter white teeth and how I’ve been keeping my smile sparkly white. One way I’ve truly upped my beauty game this season (despite my love for coffee) is by whitening my teeth at home with Smile Brilliant. I’ve been whitening my teeth for years with the generic, store-bought whitening strips and mouth-wash, but let me just say… custom whitening trays are a total game-changer.
How to Use: Step 1 - CREATE YOUR IMPRESSIONS
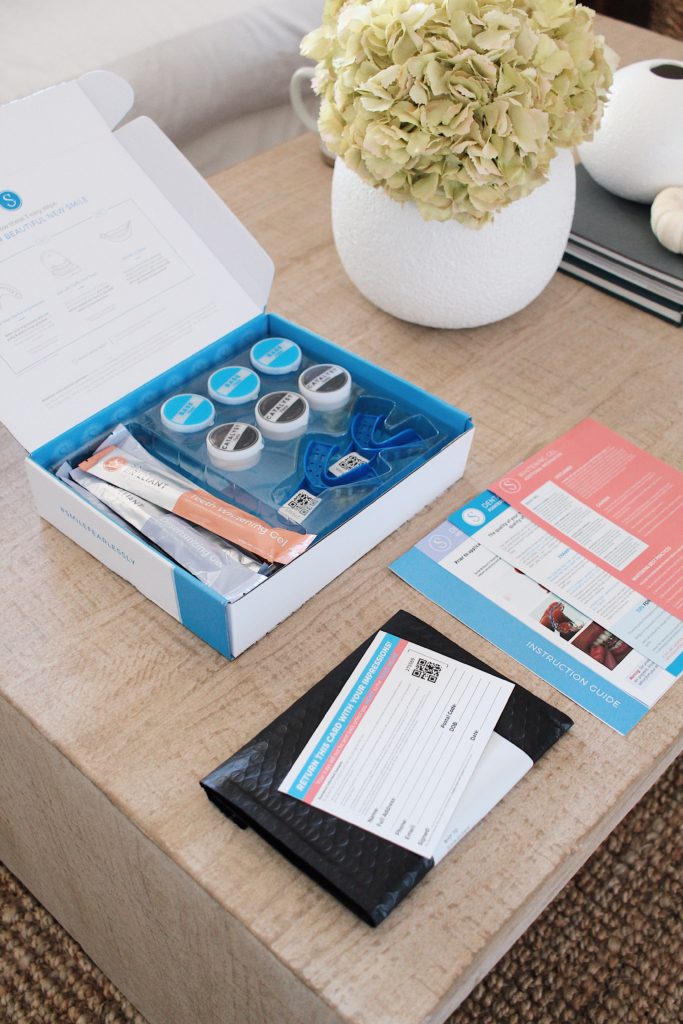
Let’s talk about how to use Smile Brilliant’s at-home teeth whitening kit. Everything you need to get started will be included in the kit you’re sent. Pro tip: READ THE DIRECTIONS! I won’t lie… I’m a natural DIY’er, so there’s always a part of me that wants to toss any set of instructions and figure it out myself. But not this time, folks. The directions included are super specific and walk you through each step of creating your teeth impression molds.
The kit comes with two impression trays, as well as three sets of base and catalyst material (in case you need to redo your impression). Once you’ve brushed and flossed, you’ll mix the catalyst and base paste together (one tray at a time) until the putty becomes a solid blue color. Then you’ll create your impressions and wait for them to dry. Finally, you’ll ship them back to Smile Brilliant in the included return-mail packaging where their dental lab will create your custom trays.
Step 2 - The Whitening Process
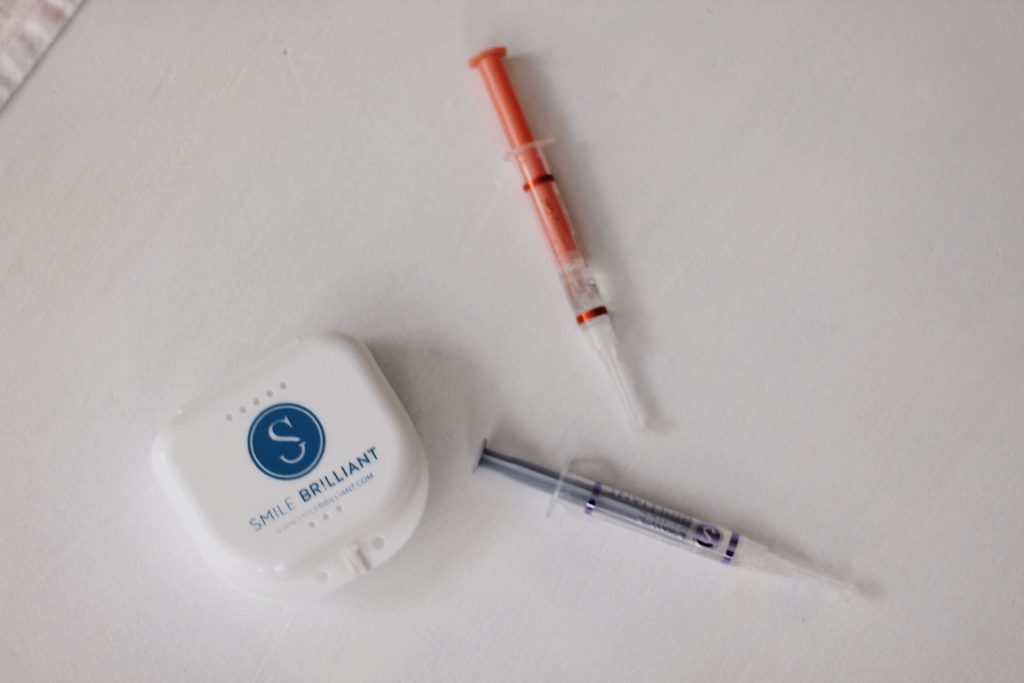
Once I received my custom trays (which fit perfectly to my teeth!), I was so excited to start the whitening process. For the first week, I whitened for about 45 min every night before bed while I caught up on my favorite shows. Gradually, I increased my time whitening and only did it 2-3 nights out of the week and started to see really great results. The impression trays come with both whitening gel and desensitizing gel. The desensitizing gel is for after you’ve whitened – this really helped eliminate any sensitivity. Whitening sensitive teeth at home can be a little daunting, but I never had any discomfort as long as I followed up my whitening with the desensitizing gel! Read more about at home teeth whitening for sensitive teeth here.
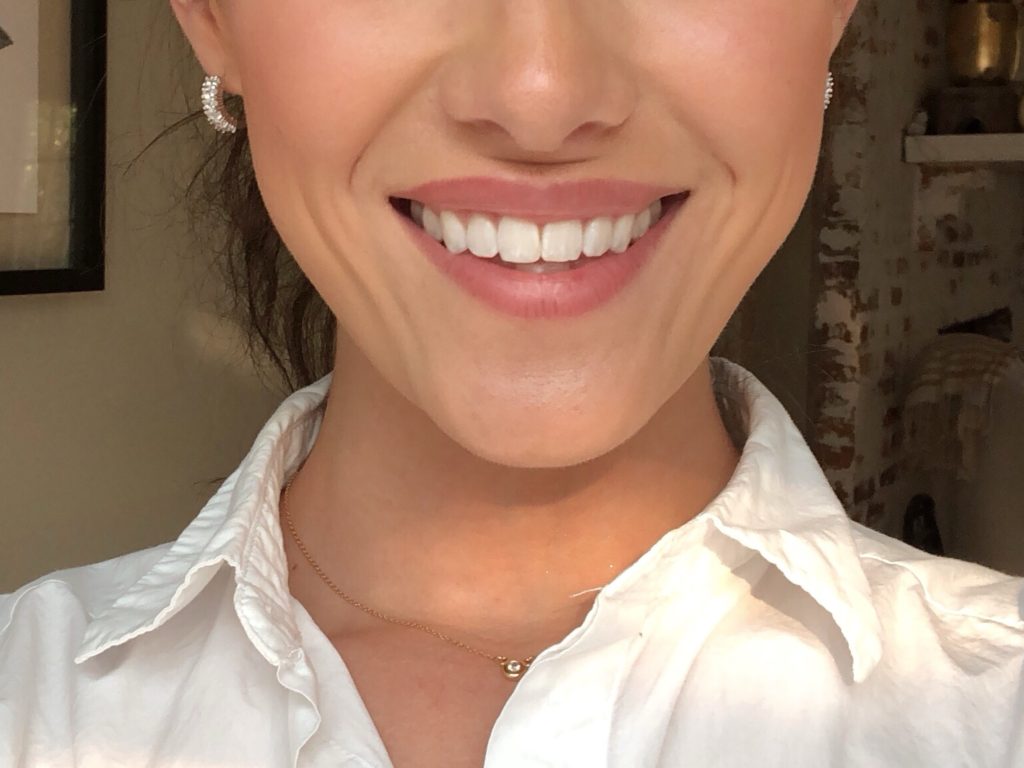
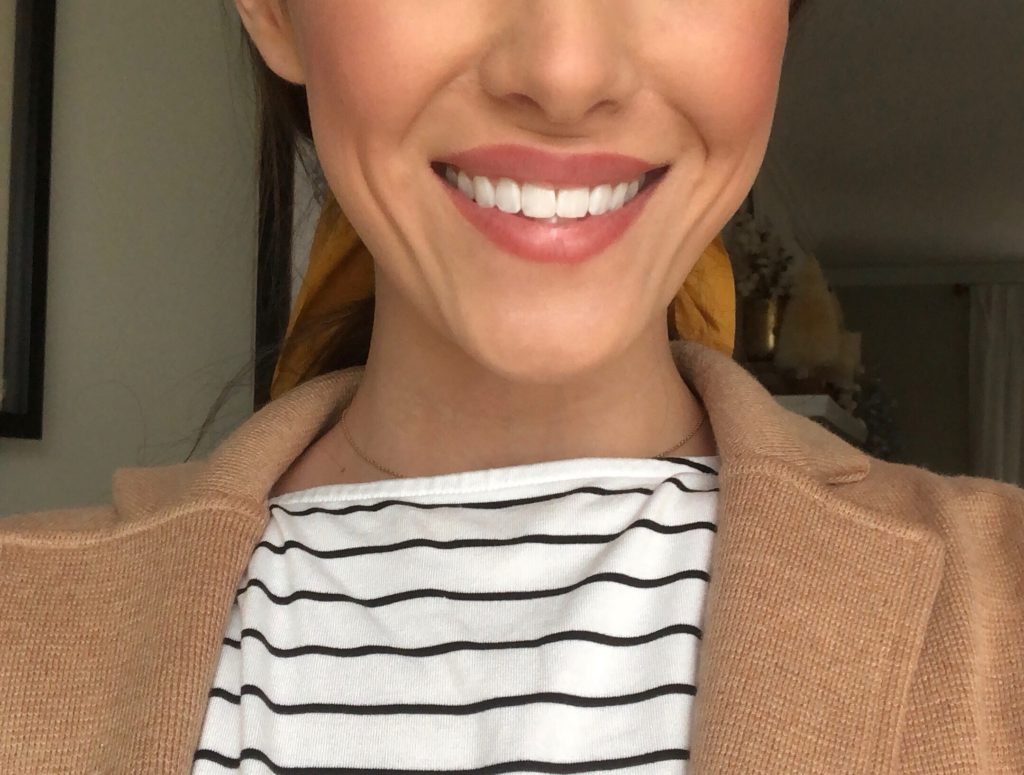
You can see how much brighter my smile looks in just the span of a couple weeks! So long, dull smile.
My Secret to Winter White Teeth
You might be thinking… at home teeth whitening: does it work? The answer is YES! Overall, I’m really happy with the results and the whitening process in general. Smile Brilliant’s at home teeth whitening system is so much better than store-bought whitening strips. You see great results, like you would with professional treatment done inside a dentist’s office, but it’s more cost-efficient and you get to do it in the comfort of your own home! 10/10 would recommend!
Plus, a Giveaway!
And to help you try Smile Brilliant for yourself, I’ve partnered with them to offer one of my readers a free teeth whitening kit!
You can enter the giveaway HERE.
One lucky winner will receive a complete whitening kit of their own! Or, if you want to purchase your own Smile Brilliant teeth whitening kit, you can use my code ‘musingsbymadison15‘ to get 15% off your order.
*Thank you Smile Brilliant for sponsoring this post. All opinions expressed are my own.
Xo, M

About Madison
I'm Madison - a northern gal planting roots down south. Musings by Madison is your guide to classic style, beauty, home decor & more. Rooted in passion for encouraging others to curate a closet, home, and life they’re proud of and inspired by each day.
Learn more...


